
There are many different types of shots used in film, they range from opposite ends of the spectrum from extreme close ups to establishing shots. Here are some examples:
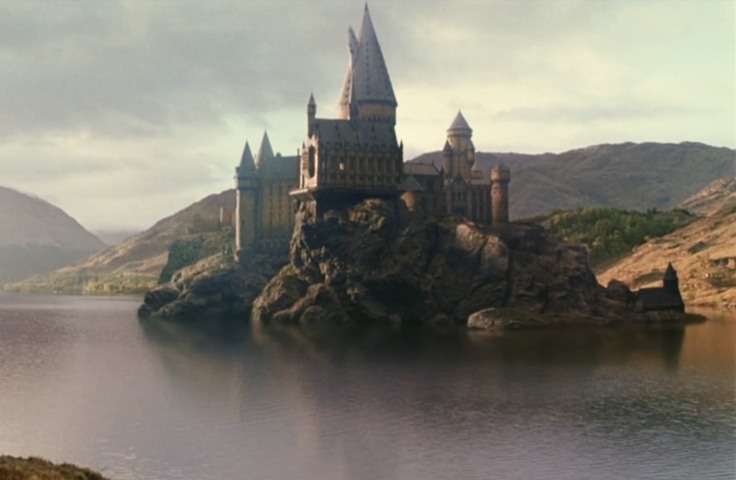
Firstly there is an extreme long shot (or establishing shot). This is used to set the scene of your film and show the audience where they characters are. They can also be used to suggest isolation such as in films like 28 days later when he wakes up or I am legend when he’s walking alone. However even though they can be used for this their most common use is for establishing the scene.
Establishing shot example:
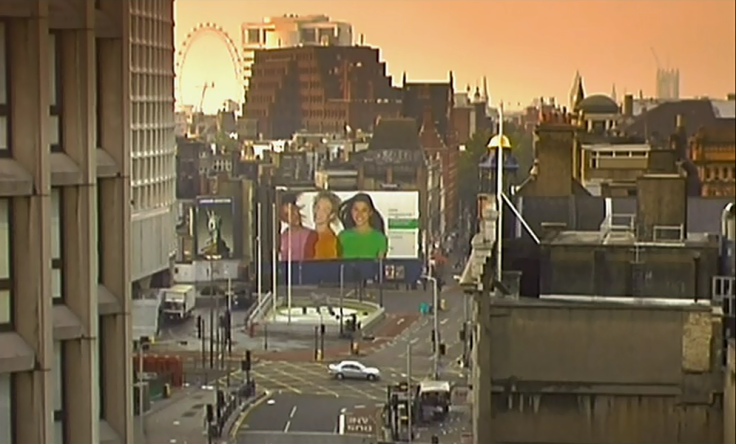
 Extreme long shot example:
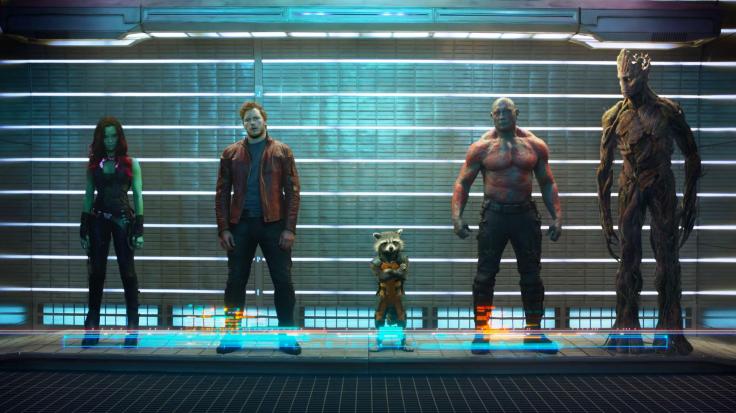
The next shot down from that is a long shot and it is usually used to show off an exterior of a building or a landscape. A long shot could also be used to show off a character and a lot of interesting background behind them which could help to make the character look small and insignificant. It can also be used, like the example below, to show off all of the characters in a scene as other shots would not show all of them off in as greater detail as the filmmaker would like.
Long shot example:
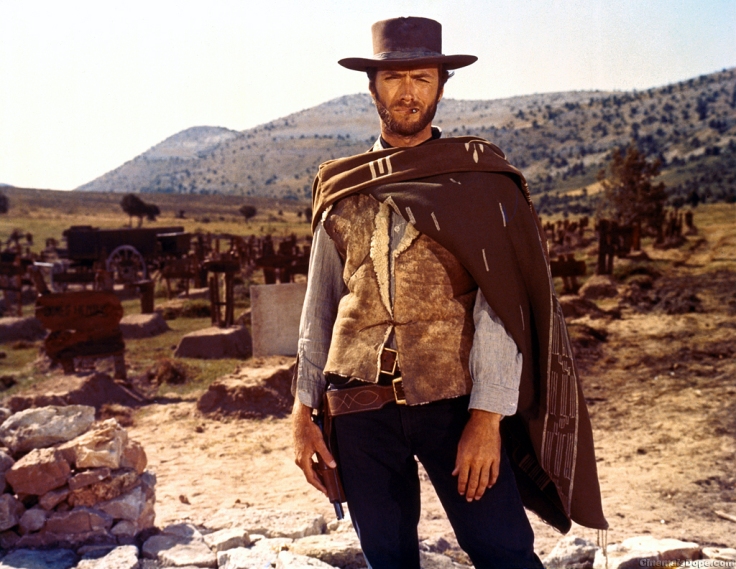
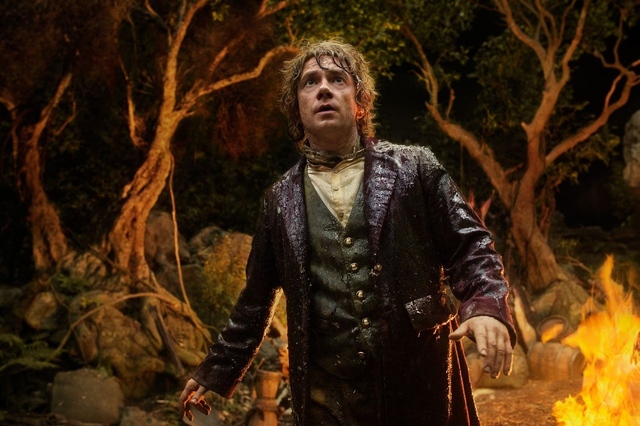
Next up we have a medium long shot which goes from below the knees of the character and a few inches above the head which gives them headroom. It is also known sometimes as the three quarter shot and shows your character in relation to their surroundings. It can also be used to fit two or three characters in frame at one time.
Medium long shot example:
The next shot is a mid shot which is used to show the character from the waist up. It can be used in anything from films to TV interviews.
Mid shot example:
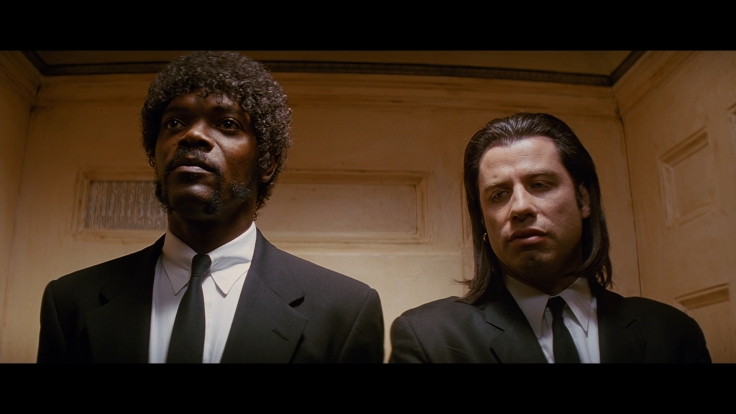
Then we have a medium close up. This is used to show the characters face without getting unnaturally close to them. This type of shot frames from the mid chest up to a few inches above their head which gives them headroom again.
Medium close up example:
Next we have a close up shot. This is used to tightly frame the person, character or object and capture them in better detail. This type of shot is usually used in conjunction with other types of shots as a reaction shot to something that has just occurred.
Close up example:

And lastly there is an extreme close up. This is when the camera focuses on a particular detail of the subject.Extreme close ups are not best used all the time however due to how close you can get into your subject, this means they should be used less than other shots.
Composition Rules
Composition is where everything is in the scene. There are many rules of composition and they are all fairly common in the film industry and you’d be hard pressed to not find them in regular use in most productions.
Firstly we have the Rule of Thirds. This is where you have to think about your scene having an imaginary grid and you position your objects/characters accordingly on the lines which intersect. A nicely composed shot with everything you need should have your character/object on an intersecting line in your scene and the rest of the scene should be filled with interesting background colour. In even the most basic of shots you should see the rule of thirds there, as skylines are usually placed upon either the top or bottom third line to make them look good. Another rule that is a part of the rule of thirds is to avoid the middle at all costs. This is not so much of a blanket rule as such but more as a guideline.

Secondly we have the Focal Point. This is where the person operating the camera focuses upon the most visually interesting part of the image. This also can link to another technique which is to Fill The Frame which is where you fill your frame with the subject and eliminate all background ‘noise’ (the term for non important things in your background). This is particularly good to also eliminate empty space in the frame which could have the potential to ruin your shot.

Thirdly we have uses of Dynamic angles and view points. Using diagonals gives a sense of drama with low angles showing power and high angles showing lack of power. Low angles can make the subject look dominant, where as high angle shots can make the subject look smaller and less imposing. This still uses the rule of thirds during composition for these scenes. Another powerful tool during the set up of these shots is symmetry. Symmetry is a most powerful tool whenever film making is concerned as us as humans find symmetrical things more aesthetically pleasing than non symmetrical things.

Another technique is leading lines which are used to draw the viewer into the scene. They can also become a storytelling feature as they are sometimes used to lead the audience into a certain part of the frame to reveal things that otherwise may have gone unnoticed. They should be used effectively to lead the audience into your picture.
Using colours and shapes can also be very useful in your scenes. Colours that complement each other are pleasing on the ye and strong shapes also add interest to your images. To do this you have to pick out the most interesting part of the frame and fill the entire screen with it. This will make the audience wonder what this is and can have a small reveal later in the scene.
Lastly you should think about your background. It should be uncluttered and not distract the viewers attention from the scene. However interesting backgrounds can give context to the audience about what is going on in that particular place. There is a interesting and relevant quote about background made by Anton Chekhov which says “Remove everything that has no relevance to the story. If you say in the first chapter that there is a rifle hanging on the wall, in the second or third chapter it absolutely must go off. If it’s not going to be fired, it shouldn’t be hanging there.” This is basically a way of saying to de-clutter your background and not have unnecessary items in shot when they’re not needed.
Manual Exposure
Exposure is usually depicted as a triangle with the three corners of it being ISO, Aperture and shutter speed. These are all 3 things which have to be set just right to get a good shot.
Firstly there is ISO which is a measure of how sensitive the filmstock or digital sensor is to light. It is measured in double increments which go 100, 200, 400, 800, 1600, 3200, 6400. A general rule to remember is the darker the place the higher the number, however the ISO being too high causes ‘noise’ in your image which can completely ruin a shot.

The shutter speed is a measure of how quickly the cameras shutter opens and closes and, consequently, how long the filmstock or light sensor is exposed to light for. As a general rule the shutter speed should be double the frame rate (25fps) 1/50,1/60. Shutter speed controls something called exposure and the quicker the exposure the less motion blur the shot will have. As well as the exposure the shutter speed can also affect the motion blur in the scene. Shutter speeds are expressed as a fraction which go 1/2, 1/4, 1/8, 1/15, 1/30, 1/60, 1/125, 1/250, 1/500, 1/1000 which are fractions of measures of a second the camera is letting in light.

Lastly there is aperture which is the hole in the lens that light travels through. The larger the hole however the more light can pass through it and the smaller the F/ number the smaller the hole.Aperture also controls things like the depth of field which is whether a shot have a focused foreground or background and can also be affected by the focus ring and the which shifts the focal plain.
Continuity Editing
Keeping continuity is very important because by making a film you are giving your audience a universe to become invested in. This means you are asking them to suspend their belief so the world they view must be as logical as possible to make sure they are not brought out of their experience by a jarring edit.
Firstly there is the 180 degree rule which is essential to spacial continuity in your scenes. To use the 180 degree rule you have to imagine a flat line, otherwise called the line of action. Once you decide on a side of this line to work from you can no longer cross it as by keeping on the same side of the line you make sure the characters remain in the same place however by crossing it the characters can look like they have switched position which can confuse the audience. Another rule is the 30 degree rule dictates that the camera has to move more than 30 degrees so it doesn’t look like a jump cut, however you can get around this by framing the shot differently.
Establishing shots must be used at the beginning of the scene. However it can then be broken down using a shot reverse shot from the reverse ends of the 180 degree line. Once a scene is broken down it will then be reestablished using another establishing shot.
An eyeline match is where shot A establishes the character looking at something off screen and when we cut to our next shot we as the audience assume the next thing we are presented with is the thing the character in the previous shot was looking at. This is a technique that expects the audience to fill in the gaps and realise that’s what the character is looking at. It also helps to speed up the pace of the film without having unnecessary shots. Another match is where there is a match on action. This is when you change shot as a piece of action has just started or ended. This makes your shots seem much smoother as they action takes place over what appears to be multiple shots. A graphic match is when a cut takes place on a shape which is similar to another one. This type of shot was made mainstream by 2001: A space oddity.
Lastly there is what are known as jump cuts. These remove a bit of time from the scene and pulls you out of the action. They are not common at all in western or mainstream film and TV production however in more alternative cinema they are quite popular. They are mainly frowned upon in Film as they make the director appear to not be able to shoot a scene correctly without removing things and making the editing look jarring.
Term 2
This term I have learned lots about practical work and working as a group/team. I have done three main projects and they are: Jody and spencer, A magazine show and a promotional video for kelham island museum. These all gave me lots of different skills that I can take forwards and use in other projects.
The first I worked on was Jody and Spencer. We had to shoot a short film about two people having an argument called Jody and Spencer. We had to set up everything ourselves from the locations we shot to the audio and visual equipment. This meant that we had to choose the ISO and adjust our sound levels to get a coherent product. However this task was to learn about continuity editing and that is the art of making the edits look seamless or invisible/unnoticeable. This will carry forth into other projects when I do them as it is a good skill to have and be able to do in your production.
The second project I worked on was the Kelham Island promotional video and for this one I used the skills in visual recording that I’d learnt whilst making the first production. However this shoot was on a location so there ended up being a lot more variables to account for then when we shot in college. We had to make sure that the shots we were getting were good and usable and then we had to make sure that the log sheets were filled in properly so that someone else could then come along and sort out all the files afterwards. I also learned skills in how to organised and edit clips well and effectively and how to use effects in the edit to stabilize and fix clips that had gone wrong.
Finally we made a magazine show which gave us a whole load of new things to learn. We learnt how to use the TV studio in its entirety which ranged from everything to the cameras to the vision mixing desk. By working as a team we were able to shoot two 10+ minute studio set shows that were both very successful. For this I learnt the art of communication and how everything has to happen as the director says it otherwise everything will go wrong.

Leave a comment